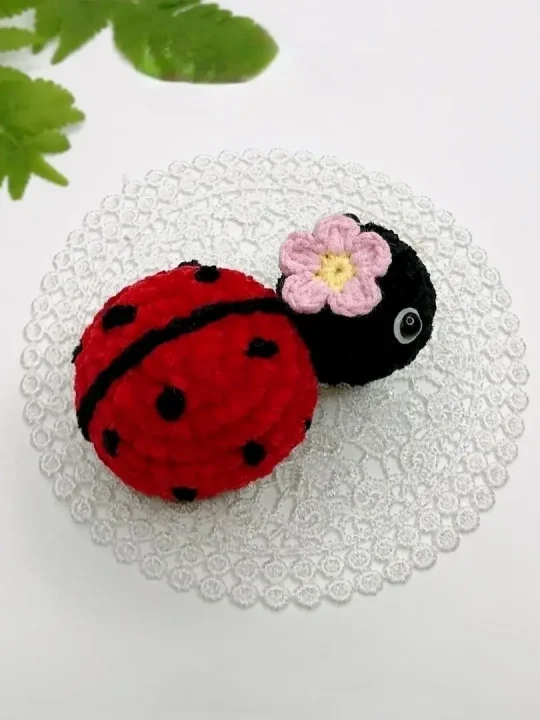
Hello my dears. Are you ready for a new absolutely adorable pattern? Today, we have a beloved ladybug. It’s cool, and the flower on its head adds charm. Besides its cuteness, it’s also easy to make. You will only need basic stitches and a little yarn.
We crochet 3 parts – the flower, the head, and the body, then sew them together. Before we begin, let’s talk about a couple of important aspects. First, the color changes in this pattern are crucial because they create the ladybug’s iconic look. Secondly, we don’t forget about the small details, like the black dots, to give our ladybug a complete and finished look.
Now grab your hook and yarn, and let’s get started.
Designer: Limlenn
Materials & Tools
- 2.3 mm crochet hook
- 2 mm yarn in colors:
- Red, black, yellow, pink
- Scissors
- Tweezers
- Sewing needle
- Pins
- Plastic doll eye (6 mm)
- Fiberfill and hot glue
Abbreviations
Rnd – round
Mr – magic ring
Ch – chain
Sl st – slip stitch
Sc – single crochet
Inc – increase
Dec – decrease
Dc – double crochet
Flower
Work around the foundation chain. Begin with yellow yarn.
Rnd 1: 10 sc in Mr (10)
Change pink yarn.
Rnd 2: (ch 2, 3 sc in 1 st, ch 2, sl st) x 5
Cut the yarn. Fasten off.
Head
Work in spiral rounds, use black yarn.
Rnd 1: 6 sc in Mr (6)
Rnd 2: 6 inc (12)
Rnd 3: (sc, inc) x 6 (18)
Rnd 4-8: 18 sc (18)
Rnd 9: (dec, sc) x 6 (12)
Rnd 10: 6 dec (6)
Cut a long yarn. Sewing this yarn to the body.
Body
Work in spiral rounds, begin with red yarn.
Rnd 1: 8 sc in Mr (8)
Rnd 2: 8 inc (16)
Rnd 3: (sc, inc) x 8 (24)
Rnd 4: (2 sc, inc) x 8 (32)
Rnd 5-9: 32 sc (32)
Change black yarn.
Rnd 10: (dec, 2 sc) x 8 (24)
Rnd 11: (dec, 2 sc) x 8 (16)
Rnd 12: 8 dec (8)