Whoa, friends – I’ve just stumbled upon the cutest little project! It’s a free crochet pattern for the most darling Christmas tree earrings with tiny beads that sparkle like dew drops in the morning sun. And if you ask me, there’s something super special about wearing something you crafted with your own two hands, especially when the holidays roll around.
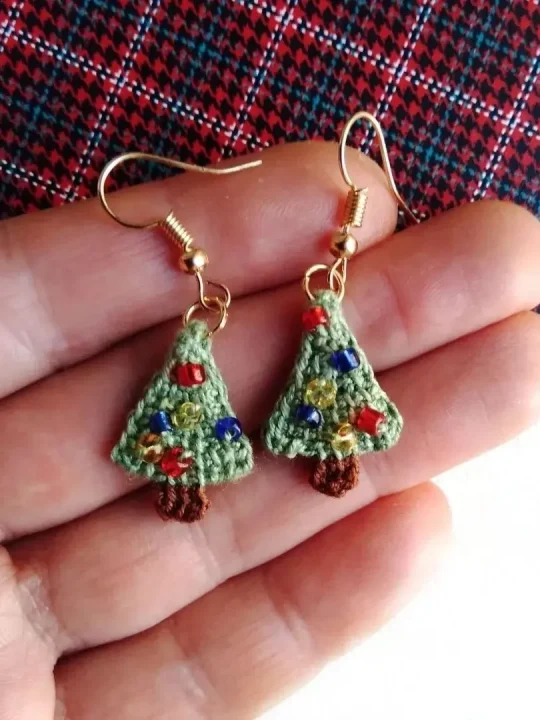
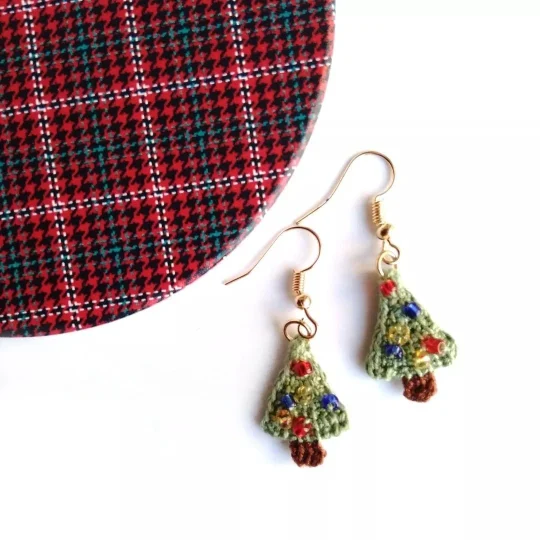
So, here’s the lowdown on this gem of a pattern: picture petite evergreen trees, no taller than your thumb, all decked out with vibrant beads. They simply shimmer when they catch the light! Gosh, it makes me feel all kinds of festive just thinking about them. The pattern is pure simplicity, meaning you’ll whip these up faster than you can sing “Jingle Bells”!
Perfect for gifting or jazzing up your holiday wardrobe. Trust me, you’ll be the talk of the party with these beauties!
I’ll be real with ya: there’s nothing quite like adding a personal touch to your festive get-up, and these earrings are just the ticket . So, dig out your hook, your fave green yarn, and a sprinkling of beads and let’s crochet our way to a holly jolly Christmas!
Designer: Meraki Crochetstudio
Materials & Tools
- 1 mm crochet hook
- Green and brown yarn
- Sewing needle
- Some beads
- Jump rings
- Earring hooks
Abbreviations
R – round
Ch – chain
Christmas Earrings
Each earring is made up of two identical parts sewn together. Start crocheting at the top of your Christmas tree.
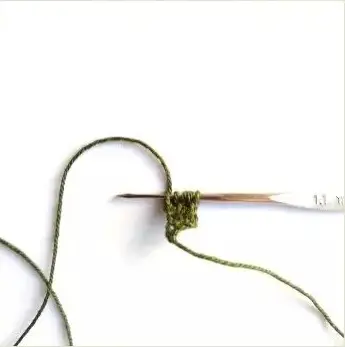
Row 1: ch 3, *insert your hook into the second chain from the hook. Yarn over and pull up a loop. Leave that loop on your hook. Repeat from * in the next chain.

Yarn over and pull it through the first loop on the hook, then *yarn over and pull it through two loops on the hook. Repeat from *
The first row is ready.
Row 2: pull the yarn through the 2 vertical bars. You’ll get 3 loops on the hook. Then do the same as in R1, pull the yarn through the first loop, then through 2 loops.
Row 3: you’ll have to make 2 increases in this row: one at the beginning and one at the end. Wrap the yarn around the hook to make an increase, then insert the hook under the vertical bar, yarn over and pull it through the bar. Next make another increase and pull the yarn through the last vertical bar.
You’ll get 5 loops on the hook, pull the yarn through them like you dii in the previous rows (first one loop, then 2 loops)
Row 4: without increases, 5 Tunisian stitches.
Row 5: 2 increases (at the beginning and the end of the row), 7 Tunisian stitches.
Row 6: without increases, 7 Tunisian stitches.
Row 7: 2 increases (at the beginning and the end of the row), 9 Tunisian stitches.
Row 8: without increases, 9 Tunisian stitches.
Fasten off, cut the yarn.

Row 9: attach brown yarn to the 4th horizontal bar at the bottom of the tree. Pull the yarn through the next 2 stitches (3 loops on the hook). Pull the yarn through them just like you did for the other rows.
Row 10: one more row with brown yarn without increases (3 Tunisian stitches)
Fasten off, cut the yarn.
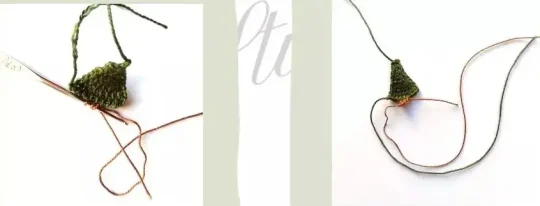
Make the second part in the same way, leaving longer ends to sew them together.
Try to hide some of the loose ends while sewing the 2 parts together.
Hide the ends that are left, pull the jump rings through the upper part of the tree, attach a hook.
Decorate tree with beads.