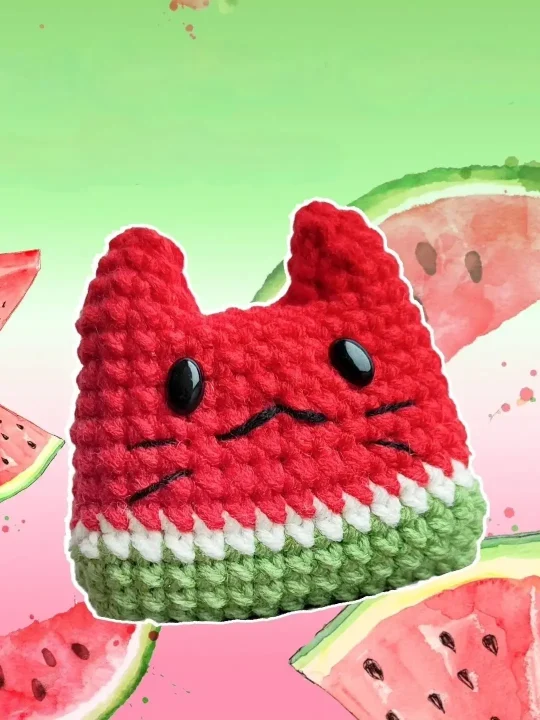
Oh my gosh, have you ever stumbled upon something so utterly adorable you just can’t help but squeal a little? That’s exactly how I felt when my eyes landed on this delightful watermelon cat pattern. Trust me, it’s not just another crochet project; it’s a fusion of fruitiness and feline charm wrapped up in a bundle of yarn that’s begging to be crafted. With my years of crocheting, I’ve seen plenty, but this one?
Starting with vibrant watermelon shades — think luscious dark green, a transition of white, and that unmistakable ripe red, interspersed with tiny black seeds (or stitches, in our case) — imagine crafting a cat head that looks as juicy as the fruit itself! The process is gloriously simple yet engaging, suitable for those with a bit of experience and daring beginners eager to leap into something more exciting.
And here’s a secret between you and me, getting the colors right is a joy in itself, almost like painting, but with yarn. As you weave each stitch, you can’t help but feel a mix of anticipation and joy, building up to that moment when it all comes together, and voilà—a cuddly watermelon cat is born, ready to be hugged or to perch cutely on your desk.
Crafting it brought back all the thrills of starting a new project, mingled with the inevitable attachment one feels toward their creation. So, if you’re looking for your next crochet adventure, this might just be the perfect pick!
Designer: Toys by Valerie
Materials & Tools
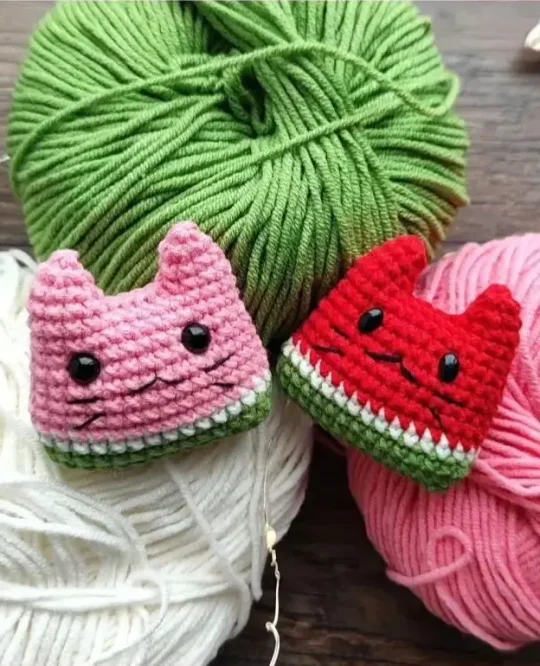
- YarnArt Jeans 50g/160cm in:
- green, milk, pink/red
- 3 mm crochet hook
- Scissors
- Needle
- Stuffing
- Safety eyes 6 mm
Abbreviations
Mr – magic ring
Ch – chain
Sc – single crochet
Sl st – slip stitch
Inc – increase
Dec – decrease
Cat
Green yarn.
Make 16 ch, start with the second loop from the hook.
Rnd 1: 14 sc, inc, 14 sc (30) mark the beginning of the row.
Rnd 2: (inc, 14 sc) x 2 (32)
Rnd 3: 32 sc (32)
Change to milk yarn.
Rnd 4: sl st, ch, 31 sc (32) ch – the first sc of the row.
Change to pink or red yarn.
Rnd 5: sl st, ch, 31 sc (32)
Cut the green and milky threads, tighten the ends and tie knots.
Rnd 6: 32 sc (32)
Rnd 7: (dec, 14 sc) x 2 (30)
Rnd 8-9: 30 sc (30)
Rnd 10: (dec, 13 sc) x 2 (28)
Rnd 11-12: 28 sc (28)
Don’t cut the thread.
Insert safety eyes between rnds 9 and 10, 6 sc between.
Ears x2
First ear:
Rnd 1: 5 sc (on te front), 5 sc (on the back) (10)
Rnd 2: (dec, 3 sc) x 2 (8)
Rnd 3: (2 sc, dec) x 2 (6)
Cut yarn and tighten 6 stitches. Fasten the thread.
Second ear:
On the back side, retreat 4 sc form the first ear and attach the yarn (leave a long tail for sewing the hole between the ears).
Rnd 1: 5 sc (on the front), 5 sc (on the back) (10)
The first ch does not count towards the total count. Crochet the 10th sc of the row into this loop.
Rnd 2: (dec, 3 sc) x 2 (8)
Rnd 3: (2 sc, dec) x 2 (6)
Cut yarn and tighten 6 stitches. Fasten the thread.
Assembly
- Stuff the head and some of the ears.
- Sew up the hole between the ears, secure the thread and hide it.
- Using a thin black thread, embroider a mouth in the 8th row and whiskers.
- Add accessories and your keychain is ready.